 Bethlehem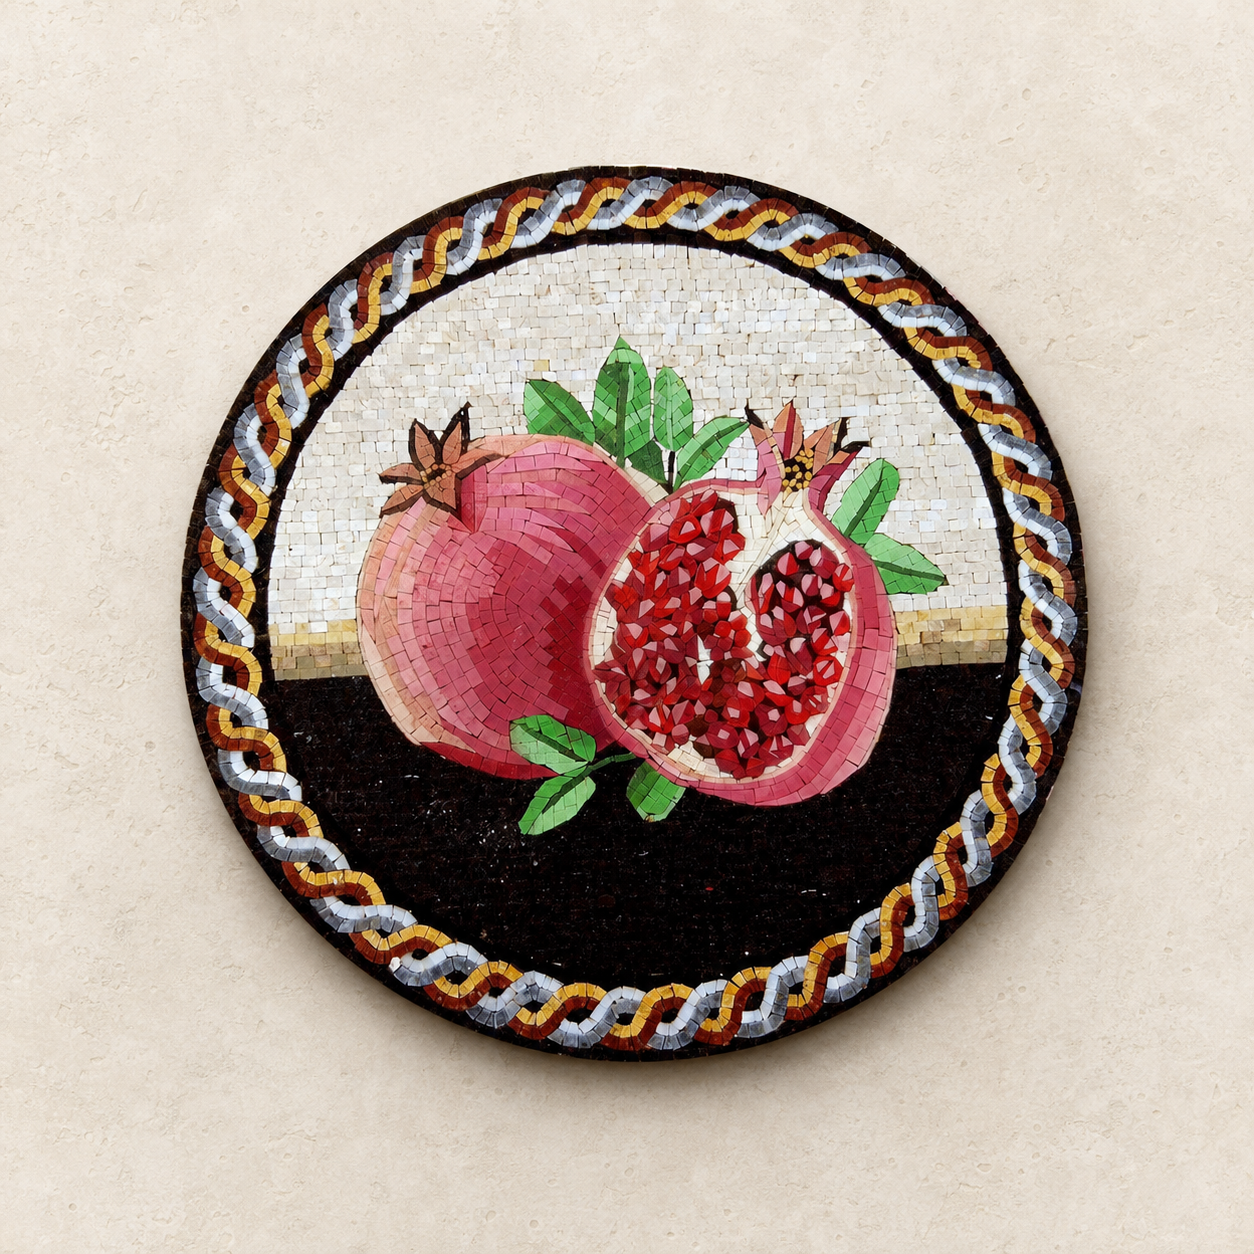
Behind every finished Bethlehem mosaic is a long sequence of small, deliberate decisions, made almost entirely by hand. Understanding how Bethlehem mosaics are made helps explain why two pieces built around the same design can still feel individual, and why a handmade stone mosaic carries a different kind of value than a printed or machine-produced wall decoration.
What follows is a general description of how a stone mosaic typically comes together. Individual artisans may adjust the order of steps, the tools used, or the finishing methods for a specific piece, so treat this as an overview rather than a fixed recipe followed identically for every artwork in the collection.
Designing the Layout Before a Single Stone Is Cut
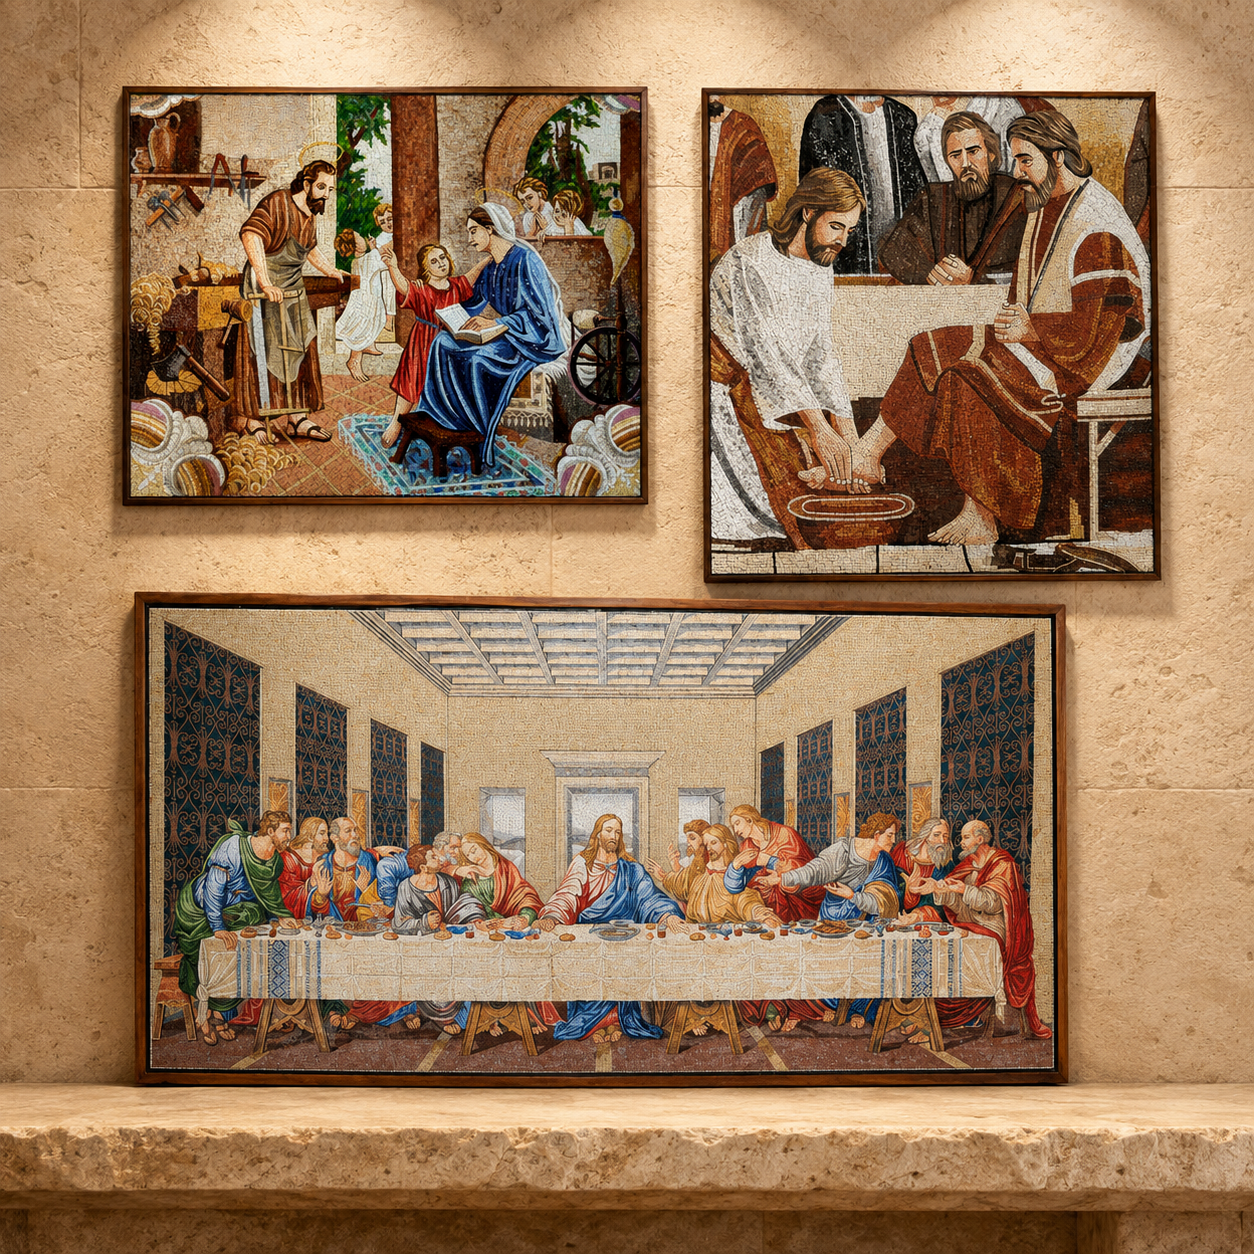
Every mosaic begins with a subject and a plan. Before any stone is cut, the design is worked out, whether that is a religious figure such as the Good Shepherd or the Virgin Mary, a biblical scene, a decorative motif like a pomegranate medallion, or a custom subject requested by a customer. This stage establishes the composition: where the main lines of the image will fall, how large the piece will be, and roughly how the color and shading will be distributed across the surface.
Choosing Colors and Selecting Stone
Once the design is set, attention turns to the stone itself. Natural stone offers a range of tones, from warm creams and ochres to deeper browns, grays, and near-blacks, and part of the artisan's skill lies in selecting pieces that will sit well together and carry the image's shading convincingly. Because the material is natural rather than manufactured, no two batches of stone are perfectly identical, which is part of what gives handmade stone mosaics their subtle, organic variation from piece to piece.
Cutting the Tesserae
The stone is then prepared into tesserae, the small individual pieces that will be arranged to build the picture. Each tessera needs to be shaped so that it can sit closely against its neighbors, leaving only a thin, consistent gap for the grout or setting material between pieces. This is detailed, patient work, since the size and shape of each tessera directly affects how crisp or soft the final image will appear, especially around curves, faces, and fine details.
Placing Every Piece by Hand
With the tesserae prepared, artisans begin setting each piece into position, working section by section across the design. This is the stage where the image genuinely comes to life: a scattering of individually colored stones becomes a robe, a halo, a wing, or a face as the pieces accumulate. Skilled placement accounts not only for color, but for the direction each tessera catches the light, which is part of why a finished stone mosaic can look subtly different depending on the angle and quality of the light in a room.
Securing, Finishing, and Inspecting the Work
Once the tesserae are placed, the work is secured so that the piece can be handled, displayed, and shipped safely. Depending on the specific artwork, this may involve grouting between the stones, mounting the finished mosaic onto a backing, and framing or otherwise preparing it for display. The completed piece is then inspected before it is considered ready for sale. For the exact materials, backing, and framing used on a specific artwork, always check that product's listing on HolyLandShopping.com, since methods can vary between designs and sizes.
Packing a Handmade Mosaic for Its Journey
Because a stone mosaic is a physical, tesserae-built object rather than a printed image, it also needs to be packed with care before it travels, particularly for pieces shipped internationally to homes, churches, and offices far from Bethlehem. While packing methods are specific to each seller and each piece's size and weight, the underlying goal is always the same: protecting months of hand-placed stonework so that it arrives in the same condition it left the workshop.
The Process at a Glance
- Choose the design, subject, and overall composition.
- Select natural stone for color, tone, and texture.
- Cut the stone into individual tesserae.
- Set each tessera by hand, section by section.
- Secure, grout, and finish the completed artwork.
- Inspect and prepare the piece for safe shipping.
If you would like to understand more about the materials themselves, our article on Holy Land stone mosaics looks closely at how natural stone behaves compared with glass or ceramic tesserae. For a broader look at where this craft comes from, see the history of mosaic art in Bethlehem, and if you are getting ready to buy, our guide to choosing a handmade mosaic covers the practical questions worth asking before you order. You can also read more about the wider Bethlehem Mosaic project on our homepage.